How to Create a Spring-Themed Balloon Arch
A Spring-Themed Balloon Arch Is Easy to Make
Just follow these simple instructions.
1. Gather Your Materials
Here's what you'll need:
- Long narrow PVC pipe
- Two buckets
- Sand or gravel
- Decorative paper (optional)
- Colored sand or pebbles (optional)
- Balloons in bright and pastel springtime hues
- Balloon pump (optional)
- Low temperature glue gun to fill out the arch by gluing on extra balloons.
- Scissors/wire cutters
- Fresh spring flowers (optional)
Once you've got all of these, you're ready to get started.
2. Sketch Your Design
It doesn't have to be a masterpiece. And you can skip this step if you have a vision already.
But it does help to have an idea of the general shape you want our arch to take.
3. Create Base
Cut a piece of flexible PVC pipe to the length and height you want the arch to be.
4. Anchor the Arch
The simplest way to secure your arch is to stick the ends of the pipe into a bucket filled with gravel, pebbles, or sand.
You can wrap the bucket in decorative paper and cover the sand or gravel with colored sand or pebbles.
5. Blow up the Balloons
This can be done with a pump, or your lungs - if you've got the power!
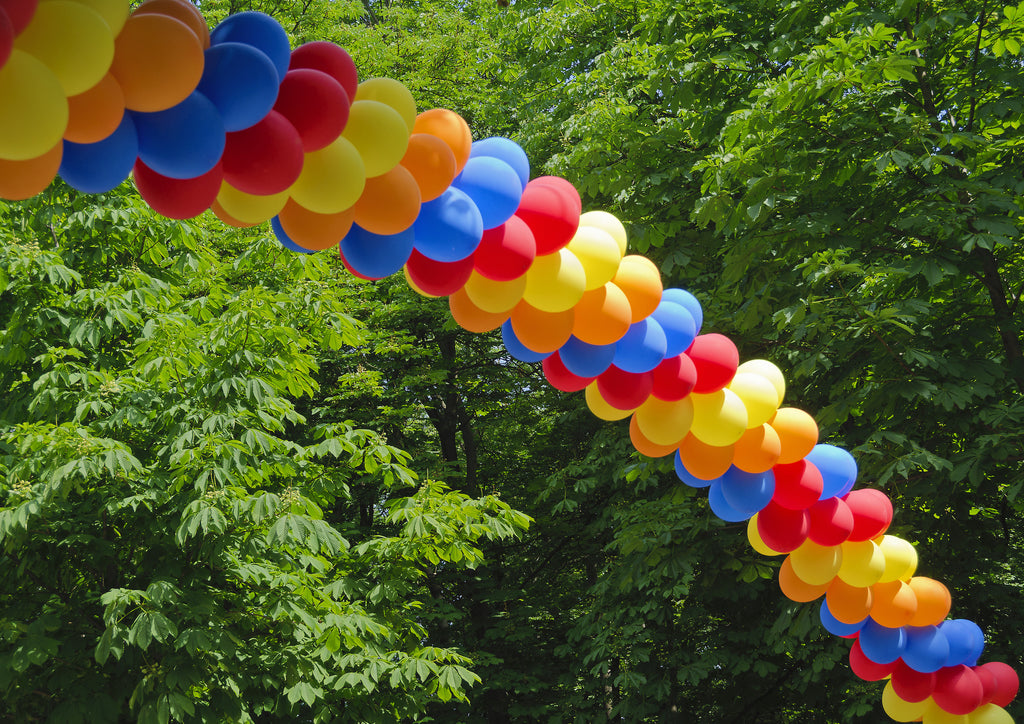
To give your arch more dimension, inflate balloons to different sizes. And be sure to keep some extra small to fill in any gaps once it's assembled.
Consider your color palette and how you'll vary the colors when assembling the arch. You can create your arch to feature a different color every balloon. Or you can create clusters of colors to keep it more cohesive.
6. Join Balloons Together
Grab four balloons you want to put together.
Tie two of the balloons together by the tails or by using string instead. Do the same with other two. You should now have two balloon pairs.
Twist the balloon pairs together to make a clover shape. Place the first pair of balloons over the second pair to create a cross shape.
Then pull the bottom pair of balloons upward. Pull the right one to the left, and the left one to the right.
7. Secure Balloons to the Pipe
Pull the balloon clover shape against the pipe. The knot in the middle of the clover should be resting directly against the pipe.
Twist the two adjacent balloons together so that they close in front of the pipe. Or you can secure the balloons to the pipe with string or ribbon.
8. Fill out the Arch
Using your low-temperature glue gun to avoid popping the balloons, create a fuller arch and fill in any holes with smaller balloons and flowers.
When using the glue gun, hover it above the balloon to add a drop of adhesive. Then tuck in those smaller balloons or fresh spring flowers such as tulips and daffodils.
Voila!
Get Set to Impress
Having a spring-themed balloon arch will set your celebration apart from the rest. And now that you know how easy it is to make, what's stopping you?
If you have any other tips on building an impressive balloon arch, feel free to comment below!
- Victor Szabo
Comments 1
Sheena
It’s a creative idea to create balloon arch using colorful balloons which gives party decoration more impressive look.